Search
Top Brands
8 Products
7 Products
5 Products
0 Products
3 Products
0 Products
2 Products
Supplies
BGM Supplies
CGM Supplies
Diabetic Supplies
Freestyle Libre
G
Insulin Pump
True Metrix
.ts-button-wrapper a.ts-button-1{background:#ffffff;border-color:#ff9923;border-width:1px ;color:#0b2c71;}.ts-button-wrapper a.ts-button-1:hover{background:#ff9923;border-color:#ff9923;color:#ffffff;}
Show all
Hot
Quick view
Add to cart
Freestyle Libre 3 Plus Sensor
$
110.00
—
available on subscription
from
$
110.00
Original price was: $110.00.
$
105.00
Current price is: $105.00.
every 2 weeks
Add to cart
Hot
Quick view
Add to cart
Freestyle Libre 2 Reader System Buy Online
$
110.00
Add to cart
Hot
Quick view
Read more
Freestyle Libre 3 Sensor Kit Buy Online
Read more
Hot
Quick view
Add to cart
Freestyle Libre 3 Reader Buy Online
$
110.00
Add to cart
Patient Registration
CGM Patient
Braces Patient
How it Works?
Blog
Contact
About us
Returns Policy
Privacy Policy
Terms and conditions
Sign in
0
0
Cart (0)
Your cart is currently empty
Sign in
Username or Email Address
Password
Remember Me
Top Brands
8 Products
7 Products
5 Products
0 Products
3 Products
0 Products
2 Products
Supplies
BGM Supplies
CGM Supplies
Diabetic Supplies
Freestyle Libre
G
Insulin Pump
True Metrix
.ts-button-wrapper a.ts-button-2{background:#ffffff;border-color:#ff9923;border-width:1px ;color:#0b2c71;}.ts-button-wrapper a.ts-button-2:hover{background:#ff9923;border-color:#ff9923;color:#ffffff;}
Show all
Hot
Quick view
Add to cart
Freestyle Libre 3 Plus Sensor
$
110.00
—
available on subscription
from
$
110.00
Original price was: $110.00.
$
105.00
Current price is: $105.00.
every 2 weeks
Add to cart
Hot
Quick view
Add to cart
Freestyle Libre 2 Reader System Buy Online
$
110.00
Add to cart
Hot
Quick view
Read more
Freestyle Libre 3 Sensor Kit Buy Online
Read more
Hot
Quick view
Add to cart
Freestyle Libre 3 Reader Buy Online
$
110.00
Add to cart
Patient Registration
CGM Patient
Braces Patient
How it Works?
Blog
Contact
About us
Returns Policy
Privacy Policy
Terms and conditions
Home
>
Blog
(Page 2)
Blog
March 8, 2026
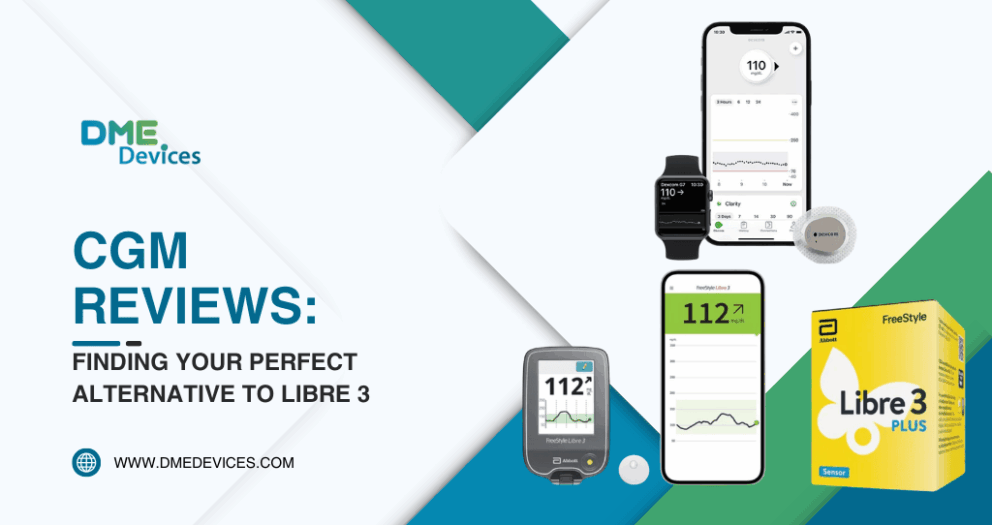
CGM Reviews: Finding Your Perfect Alternative to Libre 3
March 7, 2026
The Real Truth About the accuracy of freestyle libre
March 7, 2026
The Complete Patient Guide to the abbott freestyle CGM
March 7, 2026
Freestyle Libre Sensor: Your Complete Guide to Continuous Glucose Monitoring
March 7, 2026
Freestyle Libre 3 Troubleshooting: Fixing Sensor and App Issues Fast
March 5, 2026
How to Calculate HbA1c: The Complete Patient Guide
March 5, 2026
How Much Can A1C Drop in 3 Months? A Patient’s Guide
March 5, 2026
How Do I Lower My A1C? Real Talk for Patients and Caregivers
March 5, 2026
hba1c normal range chart: Your Complete Guide to Blood Sugar Targets
March 4, 2026
hba1c normal range chart: Your Complete Guide to Blood Sugar Targets
←
1
2
3
4
5
→
Back to Top
Product has been added to your cart
Close